Meters and Metering
With exposure being one of the most important aspects of photography, the use of light meters becomes an essential skill. Know how to meter, what to meter, and what a meter is telling you greatly increases one's ability to make a good exposure.
There are several types of meters, and an in-camera meter may have several different operating modes, but they all work on the same principle.Combining the ISO (speed) of the film being used with the measurement of the amount of light available, the meter will calculate a series of exposures.
The meter assumes that any scene being metered is average. This means it assumes that there is an even spread of tones from dark to light. In photographic terms, the meter reading will render the scene middle grey. Middle grey is just that: a medium grey tone. It is more precisely a neutral grey of 18% reflectance. Now, how most meters come about rendering the scene middle grey is by averaging. That is, they will sample different parts of a scene and average the samples together to get a reading. This averaging works pretty well, in general. As long as a scene contains a reasonable spread of tones, the reading you get, and the calculated exposure from that reading, from an averaging reflective meter will do fine.
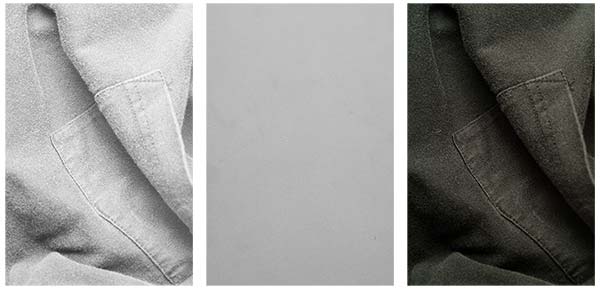
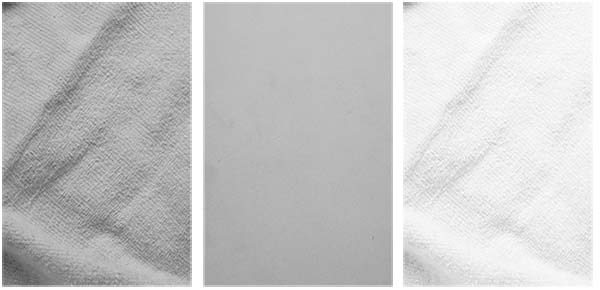
When a scene or subject is predominately light-toned, or predominantly dark-toned, the exposure must be adjusted to compensate for the meter wanting to render the scene middle grey. This can be done using several methods (see metering methods), but the important thing to remember is that a black card photographed at the metered setting will be rendered middle grey. Likewise, a white card photographed at the metered setting will also be rendered middle grey.


What the Meter is Telling You
What an exposure (E) consists of is two variables: the amount of time the shutter is open (T), and the size of the lens opening or aperture (A).
E=A/T
This formula indicates that E, exposure, is the result of an inverse relationship between shutter speed T and aperture A. What IS E? What is it's actual value? That depends on the scene.
Now, often will be the case that one or the other of the camera settings controlling shutter speed or aperture will not be what you want. Either the shutter speed is too slow or the aperture is too wide (see shutter speed and depth of field). So you need to change one. Aperture and shutter speed have an inverse relationship, so to maintain the same E value, or exposure, increasing one means you must decrease the other, or vice-versa. The same exposure value will have many different aperture/shutter speed combinations:
| f/2.8 @ 1/1000 |
| f/4 @ 1/500 |
| f/5.6 @ 1/250 |
| f/8 @ 1/125 |
| f/16 @ 1/30 |
| f/22 @ 1/15 |
All of the combinations above will give you the same amount of exposure, but they will also give you a different image. Notice again that as the aperture size decreases (the f number gets smaller), the shutter speed increases. The realtionship is inverse, and each setting represents a stop. So 1/500 of a second is one stop different from 1/250, and f8 is two stops from f/4 (f/4, f/5.6, f/8).
Exposure Modes
With fairly contemporary cameras, you are usually presented with a few different exposure modes. Often these are selected with the shutter speed dial, but may be moved to a menu with newer cameras. There are four or five basic ones: Automatic, Shutter-Priority Automatic, Aperture-Priority Automatic, Manual, Bulb, and Time.
Automatic means the camera does it all. It is acting as a point-and-shoot. Usually it will pick the smallest aperture it can with enough shutter speed to prevent camera shake, so that you get the most depth of field (near-to-far focus). The algorithms used can get complicated, but suffice to say, the camera is making compromises, either trading speed for depth of field, or the opposite. Automatic is usually designated by an 'A' on the shutter speed dial. Automatic is usually designated by 'P', for program, but sometimes an 'A', for automatic. This is often the case when the camera only does automatic and manual.
Shutter-Priority Automatic means that you select the shutter speed, and the camera will select the appropriate aperture. Usually designated by an 'S'.
Aperture-Priority Automatic is the converse of Shutter-Priority. You select the aperture, and the camera selects an appropriate aperture. Usually designated by an 'A'.
Manual, of course, means you are driving. You select both the aperture and shutter speed. Generally there is no setting on the shutter speed dial, just move it to a shutter speed.
Bulb is a holdover from the past, but what it means is that the shutter will stay open as long as the shutter release is held down. Bulb is used for exposures longer than the shutter is capable of doing itself. This is usually accomplished with a locking cable release. Bulb is usually designated by a 'B'.
Time is similar to bulb, but in this mode, the shutter release opens the shutter, and a second activation of the shutter release closes it. Usually designated by a 'T'.