Mats and Matting
The most common method of presentation is the mat. Matting a piece serves both to help preserve it, and to visually separate the image from its surroundings.
Mats can be done in several ways, from elaborate french matting to double and triple mats, to ovals. However, at the risk of being boring, the most elegant and useful is just white museum or rag board. Any color in the mat will effect the image, along with distracting from it. Standard 4-ply (1/16th of an inch thick) will work 99% of the time. 8-ply does get used, but for effect as much as anything.
Mats should be at least 2 inches wide all the way around the piece. More is fine, but less can be problematic. Under 1½ inches will just look too thin, except on very small pieces. The sides and top should be the same width (or very close to it), with any extra being moved to the bottom. The bottom of the mat is not required to be thicker than the sides or top (as many claim), but should never be thinner. Having the same width all the way around will look fine.
Figuring the Size
The basic formaula for calculating the dimensions of a mat is outside dimension - inside dimension/2. The outside, or frame dimensions, should be either of a standard size, or at least at an even inch. This will help in the long run, making the math easier. Carefully measure the image, width and height. Measure at both sides and both the top and bottom. The image can also be checked for square by measuring the diagonals.
Decide whether you want the edges of the image to be seen. Many print with a full-frame negative carrier, which produces a black border around the image. These are usually matted with the edges showing. in this case, add at least ¼ inch to the image dimensions, both height and width. If the edges are not to show, subtract a ¼ inch from both. Don't try to cut the mat to the exact dimensions, give yourself a little wiggle room.
The Mat Cutter
A mat cutter is pretty much essential. Depending on the size and volume of mats needed, a basic cutter may suffice. A more professional model is easier to use, however, and generally has the ability to cut larger mats/boards. The Logan 650 Framer's Edge is reasonably priced, and works quite well. For heavier use and more volume, the Fletcher 2200, is a professional standard (and costs less than a lot of lenses).

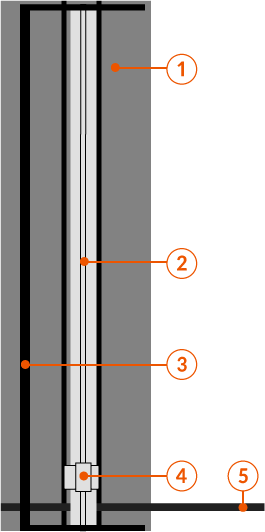
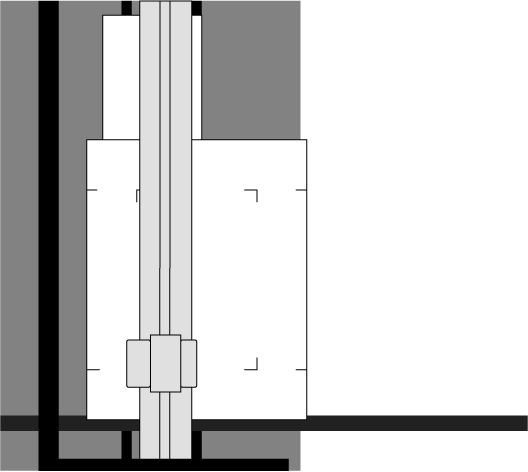
The cutter will have a base, and a clamp/cutter rail that the board goes under, and on which the cutting head rides. Carefully line up the tick marks to the rail. Apply pressure on the bar, and make a cut. Use several cuts, instead of trying to cut all the way through in one cut. Let the blade do the work. A backing board (a piece of scrap board under the good board) can help keep the cuts clean.
Cutting the Blanks
Mat board comes in standard sheets of 32 by 40 inches. Foam board is standard at 30 by 40 inches. Both can also be purchased in some precut sizes. Carefully determine how to best cut the board. For example, a standard sheet of mat board can give you 6 pieces of 11 × 14″ if cut one way, but only 4 if cut another:

So, plan the cuts. Measure carefully, and mark the board accurately. Use small tick marks right on the edge of the board. It is not necessary to draw a line all the way across the board.
Cut the entire width of the board, edge to edge. When doing multiple blanks, do all of one measurement first, then do the other measurement. For example, when cutting a full sheet down to 11 > 14s, mark and cut the three 11-inch cuts first, then do the 143. This method really helps to keep from getting squares by accident.
Be careful not to overuse blades, as a dull blade needs more effort to cut, and will have a tendency to shred the board. Also, blades cost less than boards...
The Mat
The first step in cutting the mat is to mark the cut. Calculate the width of the mat (outside or blank height - image height / 2, outside or blank width - image width / 2). Try to get the top and sides even, and add any overage to the bottom.
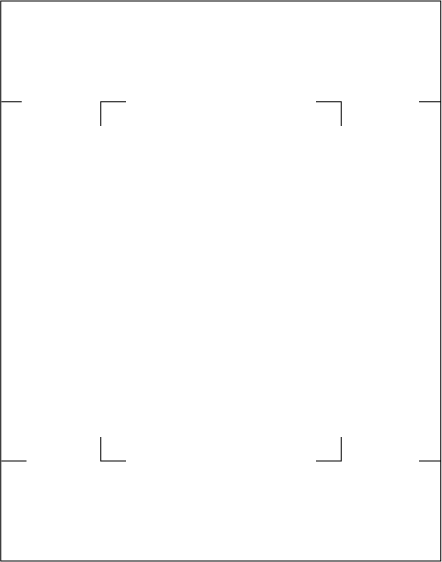
Mark with a small tick, on the back of the blank, either both sides, or the top and bottom:

Next, mark the corners of the cutout, again using small ticks:

Using a backing board, place the board in the cutter, back (marked) side up, so that the cutout is on the right side of the cutter. With the board in, lower the bevel blade to the surface of the board to fine tune the alignment.

Begin cutting the mat, using the bevel cutter. Make a very light cut at first, scoring the board. This light cut will stay straighter than a heavier cut, and will create a channel for the blade to follow. With the blade at an angle, it will have a tendency to make a bowed cut if too much pressure is used. Start and stop the cut about an eight of an inch beyond the marks.
Keep firm pressure on the pressure bar, but very light on the cutter. It should take three or four passes to complete the cut. With the first side done, rotate the board, without taking it out of the cutter, to get to the next side.
With all four sides cut, take the board out of the cutter. If the cutout is still attached in the corners, take a cutter blade and gently insert it into the cut, and complete the corner. Do not tear the board out. If there is any fuzz on the cut, use an emory board (for fingernails) to gently sand it off.
The mat does not need to be attached to the backing board when going into a frane. If it is for a portfolio, or portfolio box, the mat can be hinged to the backing board using linen tape. The self-adhesive type works fine for this.
The mat can be cleaned up using a white vinyl eraser. This will take care of any tick marks, and most fingerprints. Do not use a Pink Pearl type eraser, as it will scratch the mat. Brush any eraser shavings off. A drafting brush is great for this.