Mounts
There are several different ways of presenting work. The mount refers to both how the piece is attached to the backing board, and how it is presented in the frame.
The Hinge Mount
The hinge mount uses acid-free linen tape to create a hinge, or T-hinge, to attach the piece. Most often, just two hinges are used, one in each of the top corners. The hinge is made with two pieces of tape, with the top of the T adhesive side down, and the stem of the T adhesive side up:
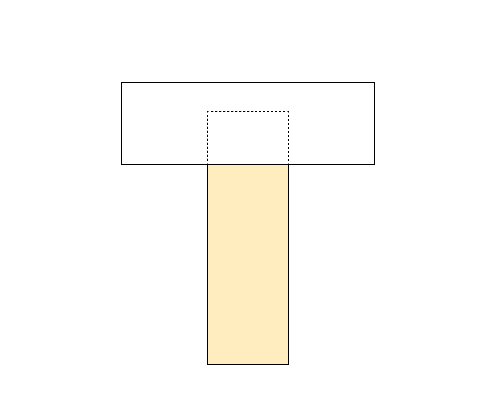
The top of the T is attached to the mount board, and the stem is attached to the piece:
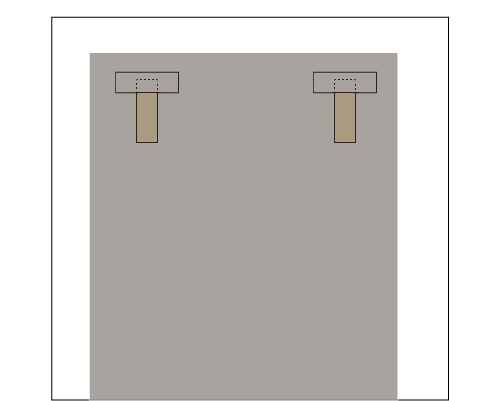
This method allows the boards and the piece to expand and contract independently, with changes in temperature and/or humidity, and will help keep the piece flat. It is also easy to remove the piece from the backing board.
Photo Corners
Photo corners are small(ish) triangular mounts, either paper or plastic, that the corners of the piece are inserted into. Like the T-hinge, this method allows the piece to expand and contract, and the piece is easily removed. The plastic corners are usually self-adhesive, and the paper corners are attached with tape, such as Filmoplast.
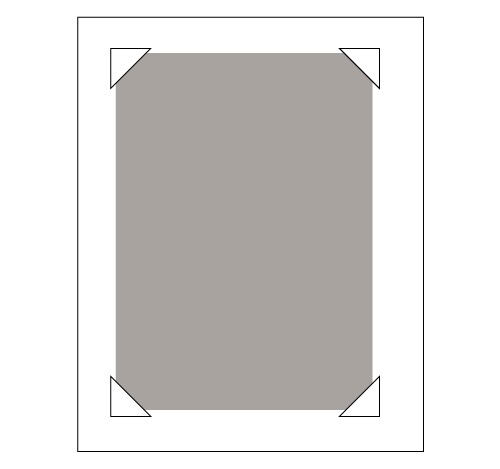
See also: making corner mounts.
Dry Mounting
Dry mounting uses a heat-activated adhesive sheet (dry mount tissue) to adhere the entire surface of a piece to the mount bord.The advantage of drymounting is that there will be no wrinkles. The disadvantage is that the dry mount is pretty much permanent. It also requires a press to be done correctly, which are fairly expensive. (I have a lab nearby that does mounting relatively inexpensively). That being said, dry mounting is often the best way to present larger prints, particularly if they are fiber-based, as these tend to ripple. The procedure is here.
Matting
Matting pieces is by far the most common way of presenting work. Matting uses a window mat to both visually isolate the piece, and to keep it from contact with the glazing. Frame shops are willing to sell you all kinds of colors and elaborate mat combinations, but keep to just white museum board.
Cutting mats is fairly straightforward, but should be done with a mat cutter. These are a combination jig and cutting head. They are also an investment. A good one can be had for around $500, and a professional model can run around $1500. Having mats cut for you is a matter of getting a reasonable price.
Measuring and cutting a mat, step by step, can be found here.
Floating
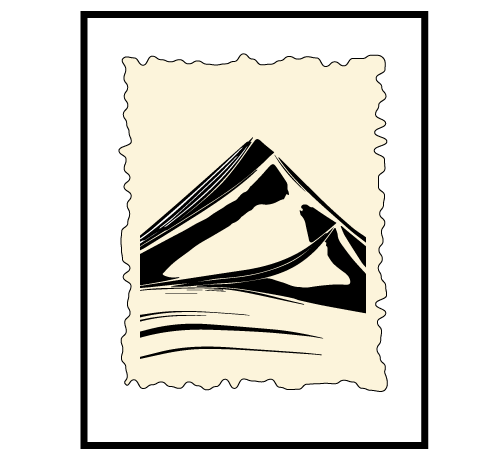
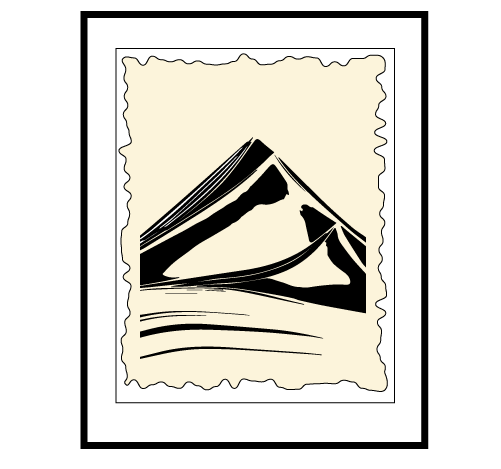
Floating, or a float mount, floats the piece on the backing board, usually without a mat, revealing the edges of the piece. Floats are most often used when artist paper is being used, with the [paper having deckled (or fake deckled) edges. Spacers need to be used to prevent contact with the glazing, if a mat is not used.
Bleed or Flush Mount
The bleed or flush mount is becoming more common. This is where the image goes all the way to the edge, with spacers being used if in a frame. A couple of non-framed variations are being used. One is with the piece mounted on a board (usually ½ inch foam board), with no glazing. The second variation is similar, but the piece is laminated between the board and acrylic glazing. All of these variations are a more contemporary look.