Split-Filter Printing
With polycontrast paper, using no filter is roughly equivalent to using a #2.25. The basic procedure is to make a test print, evaluate it, then decide on what filter to use to do the next test. More contrast, use a number higher, #2.5 or more, less, something at 2 or lower. Test. Evaluate. Then do it all over again.
This method of printing makes use of the different layers of emulsion on polycontrast paper, with their different color sensitivity. The method employs the two extreme colors of filters: the #5 filter, magenta, controls the darks to mid-tones, without affecting the highlights, while the yellow, or #00, controls the highlights to mid-tones, without affecting the darks. There is some crossover in the mid-tones, but that is easily compensated for. The method requires two test prints, but gets to the correct contrast much faster that using single filters.
The split filter method essentially allows essentially infinite gradation in contrast, and removes much of the estimation involved in using a single filter.
The Process
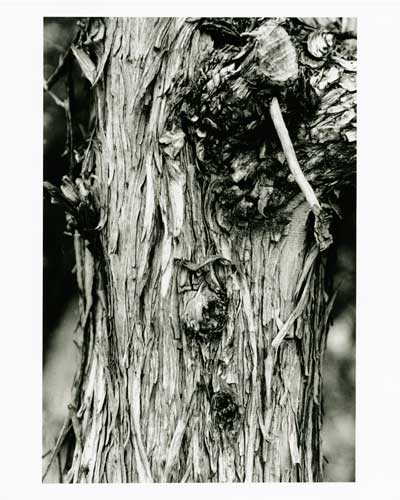
- 1. The first test is for the dark with detail. Examine the image and find an area with significant darks. Place the test paper parallel (long edge running the same direction as the shadow area.
- 2. Place the #5 filter in the enlarger. Since it is fairly dense, use a longer exposure increment. For an 8 × 10 image at ƒ/11, try 3-5 seconds, for a standard test, or use 1 second for a geometric test.
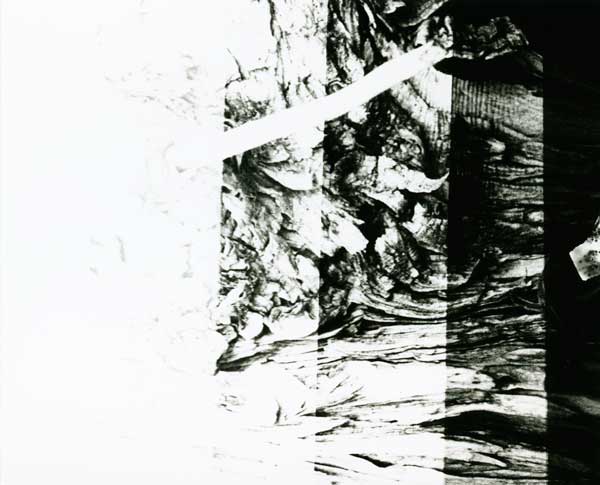
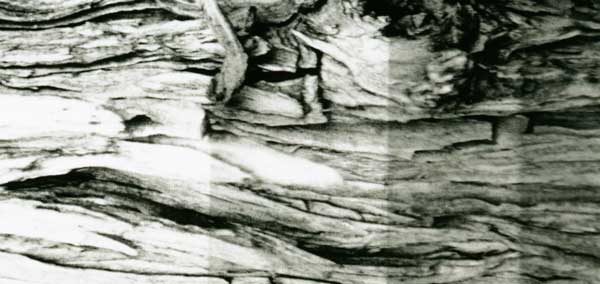
The first test, using the #5 filter. This was done geometrically, starting at 1 second, and ending at 32 seconds. - 3. Fully process the test, and evaluate. Look for the shortest time that the darks are tonally correct. Ignore the highlights, as they may not show up at all.
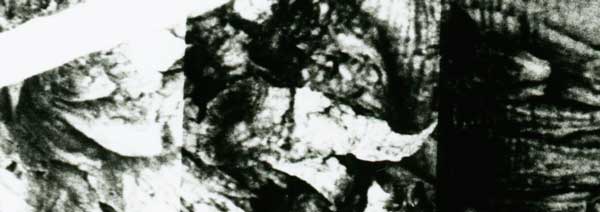
This detail shows an area with (left to right) 4, 8, and 16 seconds exposure. 8 seconds (the center strip) looks about right. - 4. Next, examine the image again to determine the important highlight areas. The second test will be done in this area.
- 5. First, and this is important (and where most get it wrong), give the entire test print the exposure with the #5 filter that was determined in step 3. Then, on top of that, switch out and use the #00 filter do a test. Since the #00 is less dense, use a shorter increment: 1 second for either an arithmetic or geometric test.
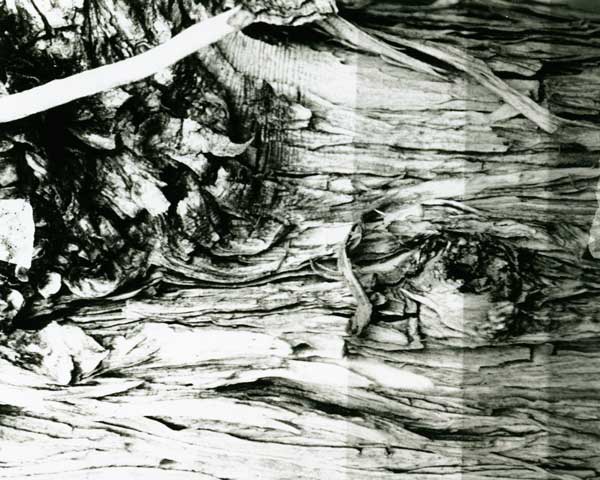
The second test. The area tested was a bit over from the first one, to include more highlight area. - 6. Again, fully process the test.
- 7. In good light, evaluate the test. Here we are looking at the highlights. (If you have a significant dark area, you can look at that, too). Look for white with full detail, noting this exposure time.
A detail of the second test, again done geometrically, showing 4, 8 16 and 32 seconds. I chose to make the print using 11 seconds for the #00, as 8 looked a bit light, but 16 was too dark. 11 is about 1/3 of a stop more than 8, and it seemed about right. - 8. To make the final print, place the #5 filter in the enlarger, exposue your paper for the time determined in step 3. Then switch to the #00 filter, and expose for the time determined in step 7.
Notes:
There may be a certain amount of 'fill-in' in the shadows when you print the #00 over the #5. That is, the combined exposures get a bit too dark. To correct for this, reduce the #5 exposure time 10 - 20%.
If you need to doing any burning/dodging, keep in mind which stage you should do it at. Highlights should be burned in with the #00 filter. Shadows dealt with when using the #5.